Hi everyone! I love Spring and all the new beginnings she brings with her. Everywhere I look, I see beauty in all the blooming flowers. It's so nice to be back to do another tutorial with my favorite paper company Carte Fini. Check out their fine Italian made paper selection on
CarteFini.com and choose from a variety of beautiful Spring colors.
Here are the items you need for this tutorial:
* Glue gun
* Thread
* 2 rolls of Carte Fini Blush Nuance #600-4 (you can choose any of their pastille or bold colors)
* 1 roll of Carte Fini Ivy Green #591
* Flower stems
* 2 cotton balls
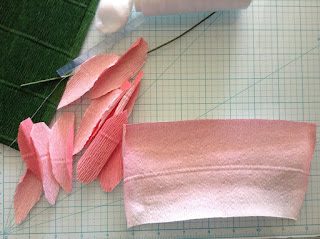
The first step is to cut the petals. Cut your petals 3 inches in length and 1 inch in width:
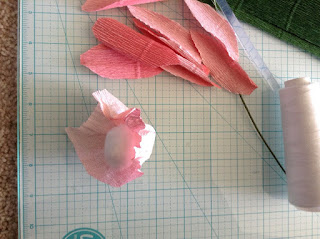
Now cut a 4X4 square shape and stretch the square piece to the maximum on one end. Place the 2 cotton balls in the middle if the stretched paper and tightly bring the ends together and wrap it with your thread as I have done in the picture. You will be attaching the petals around this foundation with thread and glue:

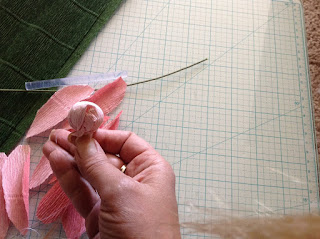
Now use your index finger and your thumb to shape the petals as it is shown in the picture below:
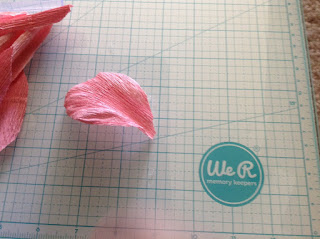
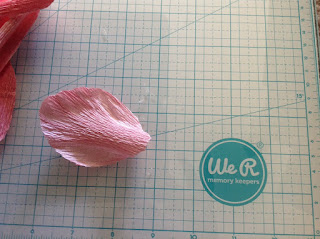
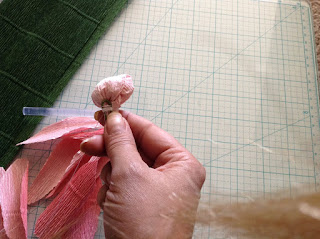
Next, place a row of shaped petals on your bulb foundation and tie with your thread. Then place the stem to the end of the bulb and tie it tightly with the thread. Now place the next petal on your bulb but this time glue the sides of the second row of petals to the first as I have done and tie the bottom with the thread:
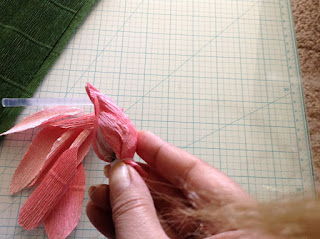
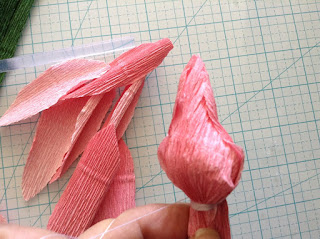
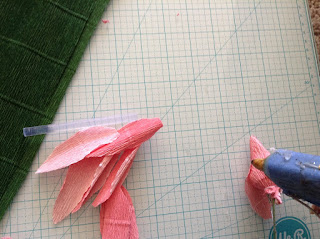
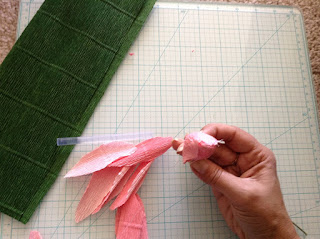
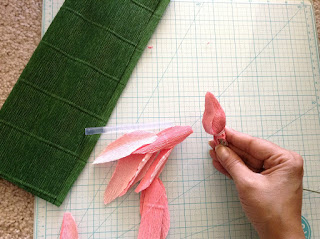
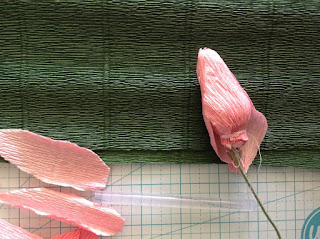
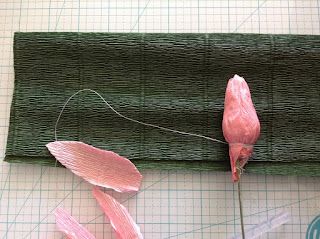
At this point, you need to cut off the excess paper at the bottom of your bulb so it won't be bulky. Repeat this process until you get your desired tulip shape. Remember you can change the size of you flowers either by cutting your petals larger or smaller than the size mentioned above.:
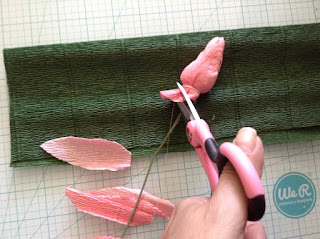
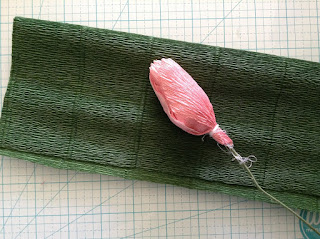
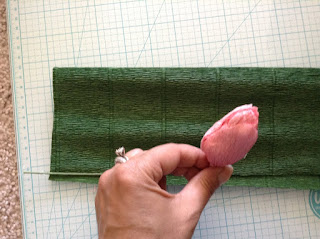
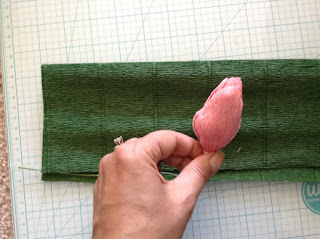
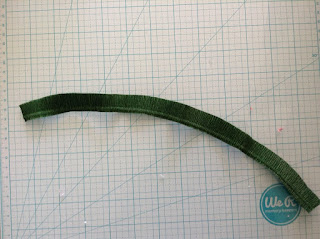
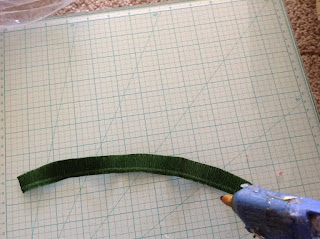
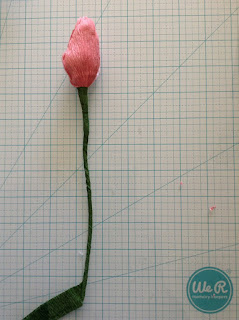
It's time to cover the stem. Cut a ribbon like strip from your green paper, add a dot of glue and tightly wrap it around the stem. When you reach the bottom, add another dot of glue to the end of the paper and hold until the glue is cooled off:
Let's make the leaves. Cut two 8 inches levees and shape it with your fingers by gentle stretching the sides of the levees. You don't want to over stretch the paper or you will be left with limp flat paper.
Now place the first leaf 1 inch from the bottom and add a thin line of glue to the end of the leaf and hold until the glue is cooled off. Place the second leaf on the opposite side of the first leaf facing each other and glue it:
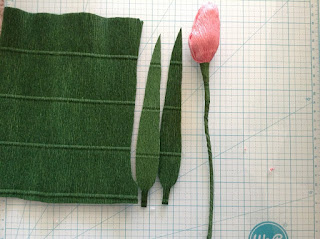
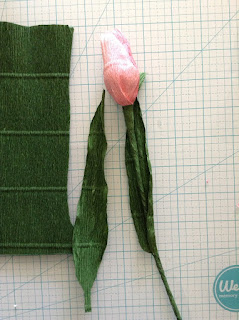
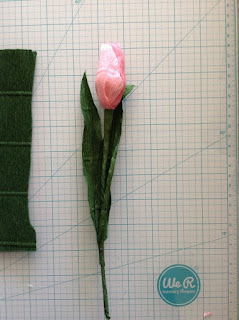
Congratulations on making your first tulip!!! You can make as many different colors as you would like. You can give these beautiful tulips as present or use it as a centerpiece for your dining table, or use it as a bridal bouquet.
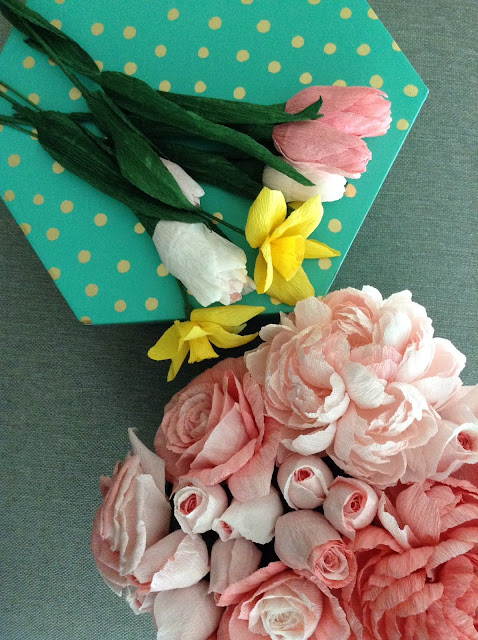
I hope that you will share pictures of your paper tulips with me.
Enjoy this beautiful Spring season and make lots of flowers for yourself, loved ones and friends.
All the best,
Roya

Pamela Frame
February 25, 2019
In my city you can’t find the paper in stores. Prices are set by an artist by several considerations. The easiest way to understand the pricing of art is that the buyer has to offer a price at which the seller would rather sell the art than keep it. That is how quilts are priced! One has to take into consideration the overhead, time, cost of materials, fees, insurance, etc., but then after all of that is the first thing I said, at what price is the seller willing to let it go? Hope that clears things up!
My father always told me that a house is worth what it will sell for. Not a penny more or less.