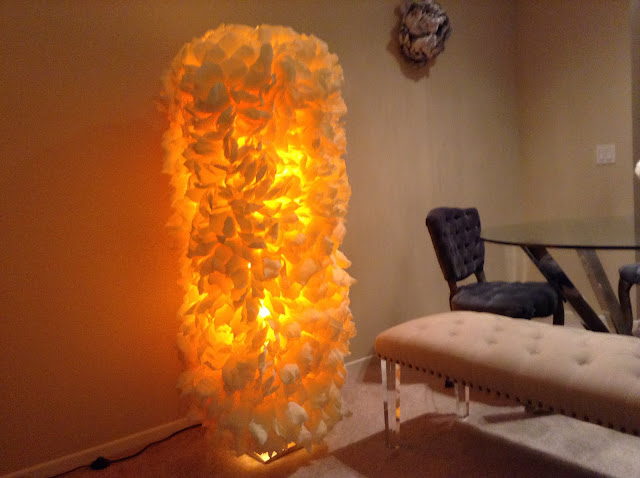
Hi Everyone!!! I am back with a new Carte Fini tutorial for a peony floor lamp. Please visit cartefini.com for the highest quality Italian crepe paper.
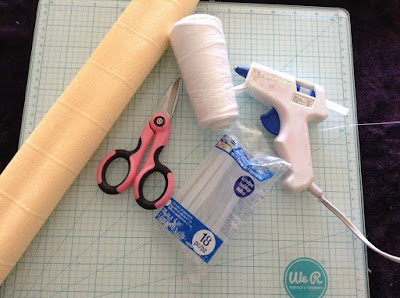
These are the items you need to create this fine art piece:
* Scissors
* Glue Gun and Glue Sticks
* White Thread
* Ruler
* 19 rolls of 180 gram crepe paper(any color may be used but lights colors would probably work best for this project)
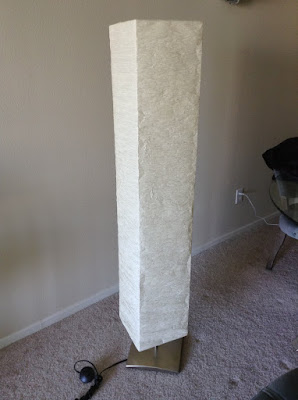
* One floor lamp - I bought an inexpensive 5' lamp from Ikea but you may use any similar type of lamp.
Ok...lets get started. First you need to cut 6 inch long peony petals for the first layers. The tips are 1-1/2 inches, the bottoms are 1/4 inches and the mid sections are 2 inches wide:
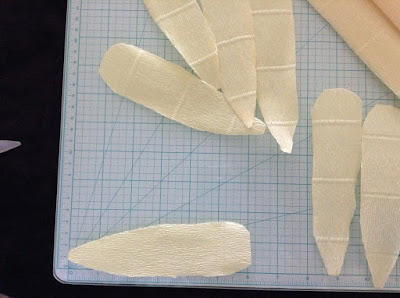
For the second layer of peony petals, you need to cut them about 10 inches long with 2 inch tips, 1/4 inch bottoms and 2-1/4 inches wide at the mid section:
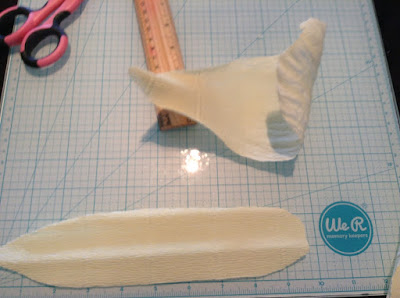
Take the first layer of petals that measure at 6 inches long. Using your index finger and your thumb, shape the tip of the petal by holding the petal's tip away from you and use your fingers to pull the petal tip downwards to get a crinkly inward shape as demonstrated in the picture below. Then, use both thumbs holding the middle of the petal and gently pull to the sides of the petal to form a spoon shape. Repeat this proses with all your petals; both with the 6 and 10 inch petals:
This process will be used for all your petals in making this beautiful floor lamp.
Take your 6 inch petals and one by one, glue the bottom of the petal so that the tip would be bending downward and away from you. Place a dot of glue on the back of the of the petal on the bottom part and adjust to the inside top part of you lamp as I have demonstrated in the picture:
Repeat this process by overlapping the other petals until you have completely covered the inside of the top part of your lamp:
Start covering the lamp from the outside. Start at a corner and work your way around the top of the lamp. Use a dot of hot glue on the bottom part of the petal and glue it to the lamp:
For the remaining first layer of the petals, make sure that you are overlapping them as shown below:
It is time to use the 10 inch petals and glue the second layer on the outside of the lamp the same way mentioned above:
Next, take one petal tie the bottom of the petal with your thread. Then take the second and third petals and tie the bottom of the petals to the first one. Make sure that the petal cups are facing each other and you have formed a cupped formation demonstrated below:
Now glue the three petals to the corner of the top part of the lamp. Always start each layer from the corners; this is how you will round off the corners. Now, repeat the process of tying the three petals as you did before and glue them to the lamp by overlapping them over the petals that are already affixed to the lamp. Repeat this process until you have gone around the lamp:
Now repeat this process for the next layers approximately half way down the lamp, again starting from the corner by gluing the cupped bunch 3/4 of an inch lower than the first bunch that you have already affixed to the lamp:
Next, we are going to start this entire process from bottom up by starting with the 6 inch petals on the outside of the lamp:
This how you'll achieve the second upside down peony; repeat this process all the way up until your petals meet. Congratulations!!! You just made your first lamp!!!
I hope you enjoyed this tutorial. Please visit my website RoyasCreations.com. I would love to hear from you regarding these tutorials so when you get a chance, drop me a note.
All the best,
Roya